Understanding Kubernetes Scheduler
Definition
The term Scheduling in Kubernetes refers to the process of taking the decision about which newly created Pod goes to which Node ?
Scheduler component responsible about taking that decision.
Scheduler component is part of Kubernetes Control Plane components and Control Plane components manage the overall state of the Kubernetes cluster.
Scheduler as other Control Plane components hosted on Kubernetes Master Node and therefore decide the placing of pods across Worker Nodes.
How Scheduler Works ?
The default behavior of Scheduler to select which Node the pod will be placed as below:
- The scheduler will look at the available CPU and memory resources on each node.
- It tries to balance resource utilization across nodes, placing pods in a way that avoids overloading any particular node.
Scheduler executes two main steps to decide which pod goes to which node the Filtering step and Ranking Step.
Filtering Step
Lets assume we have some hardware requirements to place a heavy computational operations Pod that requires on a Node of at least 10 CPU cores as below Pod definition file
apiVersion: v1
kind: Pod
metadata:
  name: cpu-intensive-pod
spec:
  containers:
  - name: cpu-intensive-container
    image: nginx
    resources:
      requests:
        cpu: "10"   #Minimum CPU requirement
Note: we will get to how to specify resource requirements using requests and limits later in this article
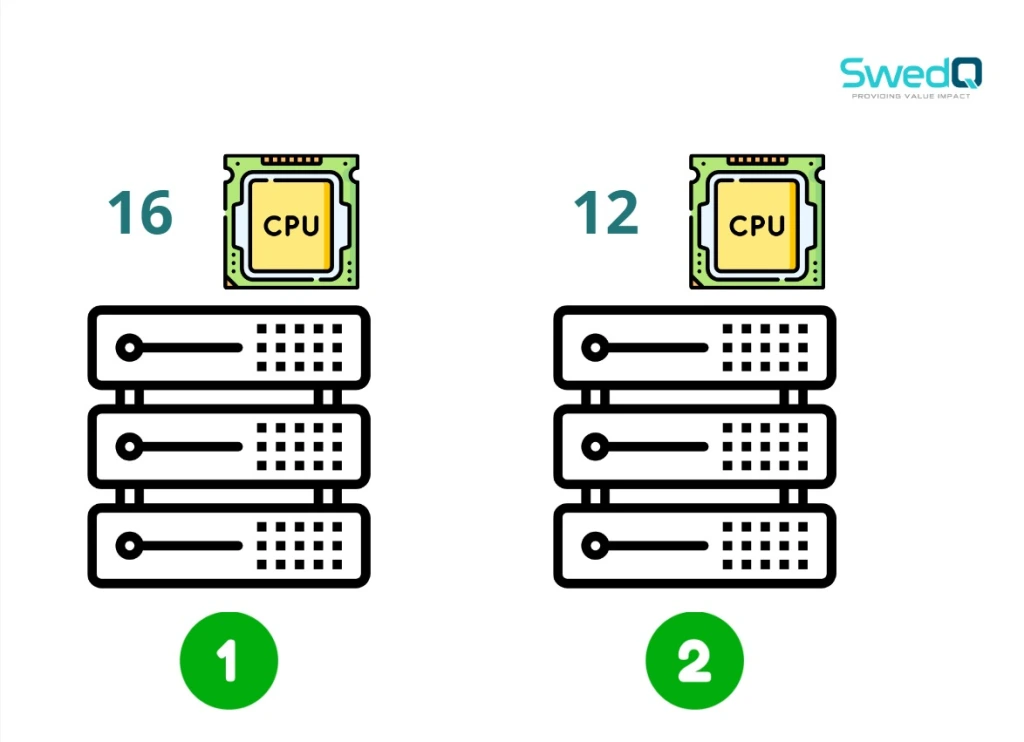
and we have a Kubernetes cluster of four worker nodes with different CPU cores number for each Node ” 4 , 6 , 12 , 16 “
So first step Scheduler will filter out the nodes based on that criteria therefore two nodes from the below will be excluded.

Ranking Step
Scheduler have to select one of the remaining nodes and here the ranking step comes.
Scheduler uses priority function to assign a score to the node from 0 to 10. It calculates the amount of remaining free resources assuming that the pod will be placed on each node.
So based on that assumption the first node in that case will have 2 free CPU cores and the second one will have free 6 CPU Cores therefore the ranking will be higher for fourth node

Advanced level of Scheduler: This logic of Scheduler can be customized, also you can develop your own Scheduler using a programming language mostly GO language.
We have a CPU limits on the Pod definition file and this is one of the overriding methods on default scheduler behavior, so lets go through each method and see what it provides to control Pod placements
Overriding Scheduler behavior ?
Labels and Selectors
The standard and most known method to group and filter pods upon is Labels & Selectors.
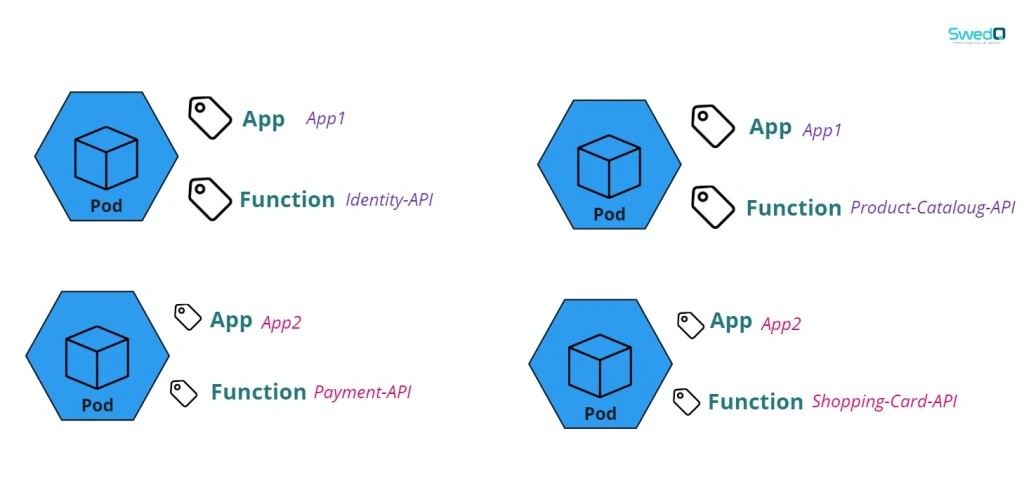
Giving the assumption that we have two applications with different API Pod functions we can simply label each Pod using App and Function label as below

The pod definition file will mention the labels in metadata section for the pod so we label this pod with App1 and Identity-API
The nodeSelector section under spec section where we specify the target node which going to host all API pods related to App1 for example.
apiVersion: v1
kind: Pod
metadata:
  name: app1-pod
  labels:
    app: app1               # Selector matches 'app' label
    function: identity-api  # Selector matches 'function' label
spec:
 nodeSelector:
        app: app1               # target nodes with app label
 containers:
  - name: app1-container
    image: nginx
    ports:
    - containerPort: 80
Lets deploy the identity-api Pod which belongs to application App1 using Kubernetes Deployment file so in order to group the identity-api pods for App1 we will use Selectors section based on the App and Function labels as below.
We used labels and selectors to group for deployment and nodes selector in Pod definition file to specify the target nodes based on the same labels.
The template section in Deployment file is where we include the content of Pod definition file except the apiVersion and kind attributes
apiVersion: apps/v1
kind: Deployment
metadata:
  name: app1-deployment
spec:
  replicas: 4
  selector:
    matchLabels:
      app: app1               # Selector matches 'app' label
      function: identity-api  # Selector matches 'function' label
  template:
    metadata:
      labels:
        app: app1
        function: identity-api
    spec:
      nodeSelector:
        app: app1               # target nodes with app label
      containers:
      - name: app1-container
        image: nginx
        ports:
        - containerPort: 80
In the node definition file we label the node with App label, so the target node in nodeSelector Pod definition file “and Deployment file” will match with the labels below
apiVersion: v1
kind: Node
metadata:
  name: node-1
  labels:
    app: app1   # Label for the application
spec:
  # Node spec details can be added here
The same technique of grouping based labels and selectors used widely in different other configuration files like Service , Network Policy , ….
Cons of using Node and Selectors
- Limited Flexibility:
nodeSelectorprovides a simple key-value matching mechanism. If you need more complex scheduling logic (e.g., combining multiple conditions or using logical operators), you may findnodeSelectorinsufficient. This is where node affinity provides more flexibility. - Single Match Requirement:
nodeSelectorrequires an exact match of labels. If the specified labels do not exist on the node, the pod cannot be scheduled there. If no nodes match the selector, the pod will remain in a pending state. - Resource Imbalance: Overusing
nodeSelectorcan lead to resource imbalances if certain nodes are favored for deployment. If you have a limited number of nodes that match thenodeSelector, you may end up with resource contention on those nodes while other nodes remain underutilized. - Lack of Dynamic Behavior: Changes to node labels (e.g., adding/removing labels) do not automatically affect currently running pods. Pods will not migrate to different nodes based on label changes; they must be manually managed or redeployed.
- No Guarantees for Exclusivity: Using
nodeSelectordoes not guarantee that a node will only host pods with the specified labels. Other pods without matching labels can still be scheduled on the same node if there are no restrictions (like other selectors, taints, or resource limitations).
Next
Let’s get to more effective methods to override the default behavior of Kubernetes schedulers in the upcoming parts as below:
- Controlling Kubernetes Pod Placement: Labels and Selectors – Overriding Default Scheduling (Part 1)
- Controlling Kubernetes Pod Placement: Taints & Toleration – Overriding Default Scheduling (Part 2)
- Controlling Kubernetes Pod Placement: Node Selector & Node Affinity – Overriding Default Scheduling (Part 3)
- Controlling Kubernetes Pod Placement: Requirements & Limits and Daemon Sets – Overriding Default Scheduling (Part 4)


